Peero Gift Store
How to manage Peero Gift Store step-by-step guide
Adding new gifts
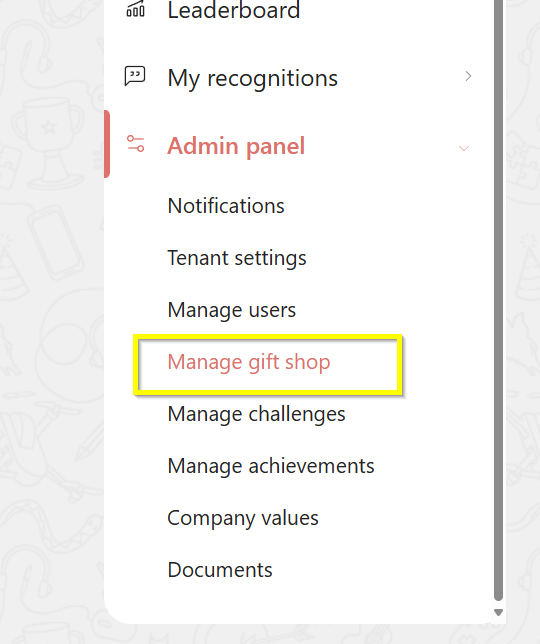
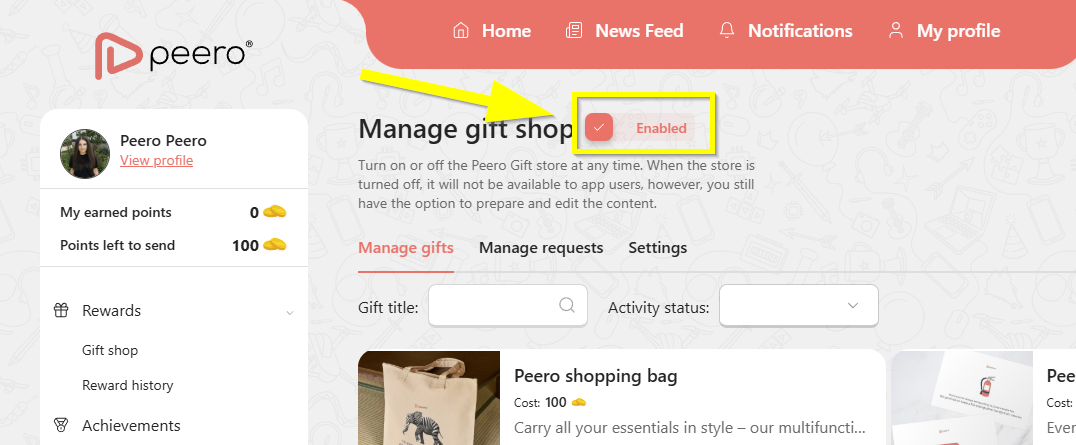
Go to the Admin settings page by clicking the Admin button. Open “Manage gift store” by clicking the menu in the left corner.
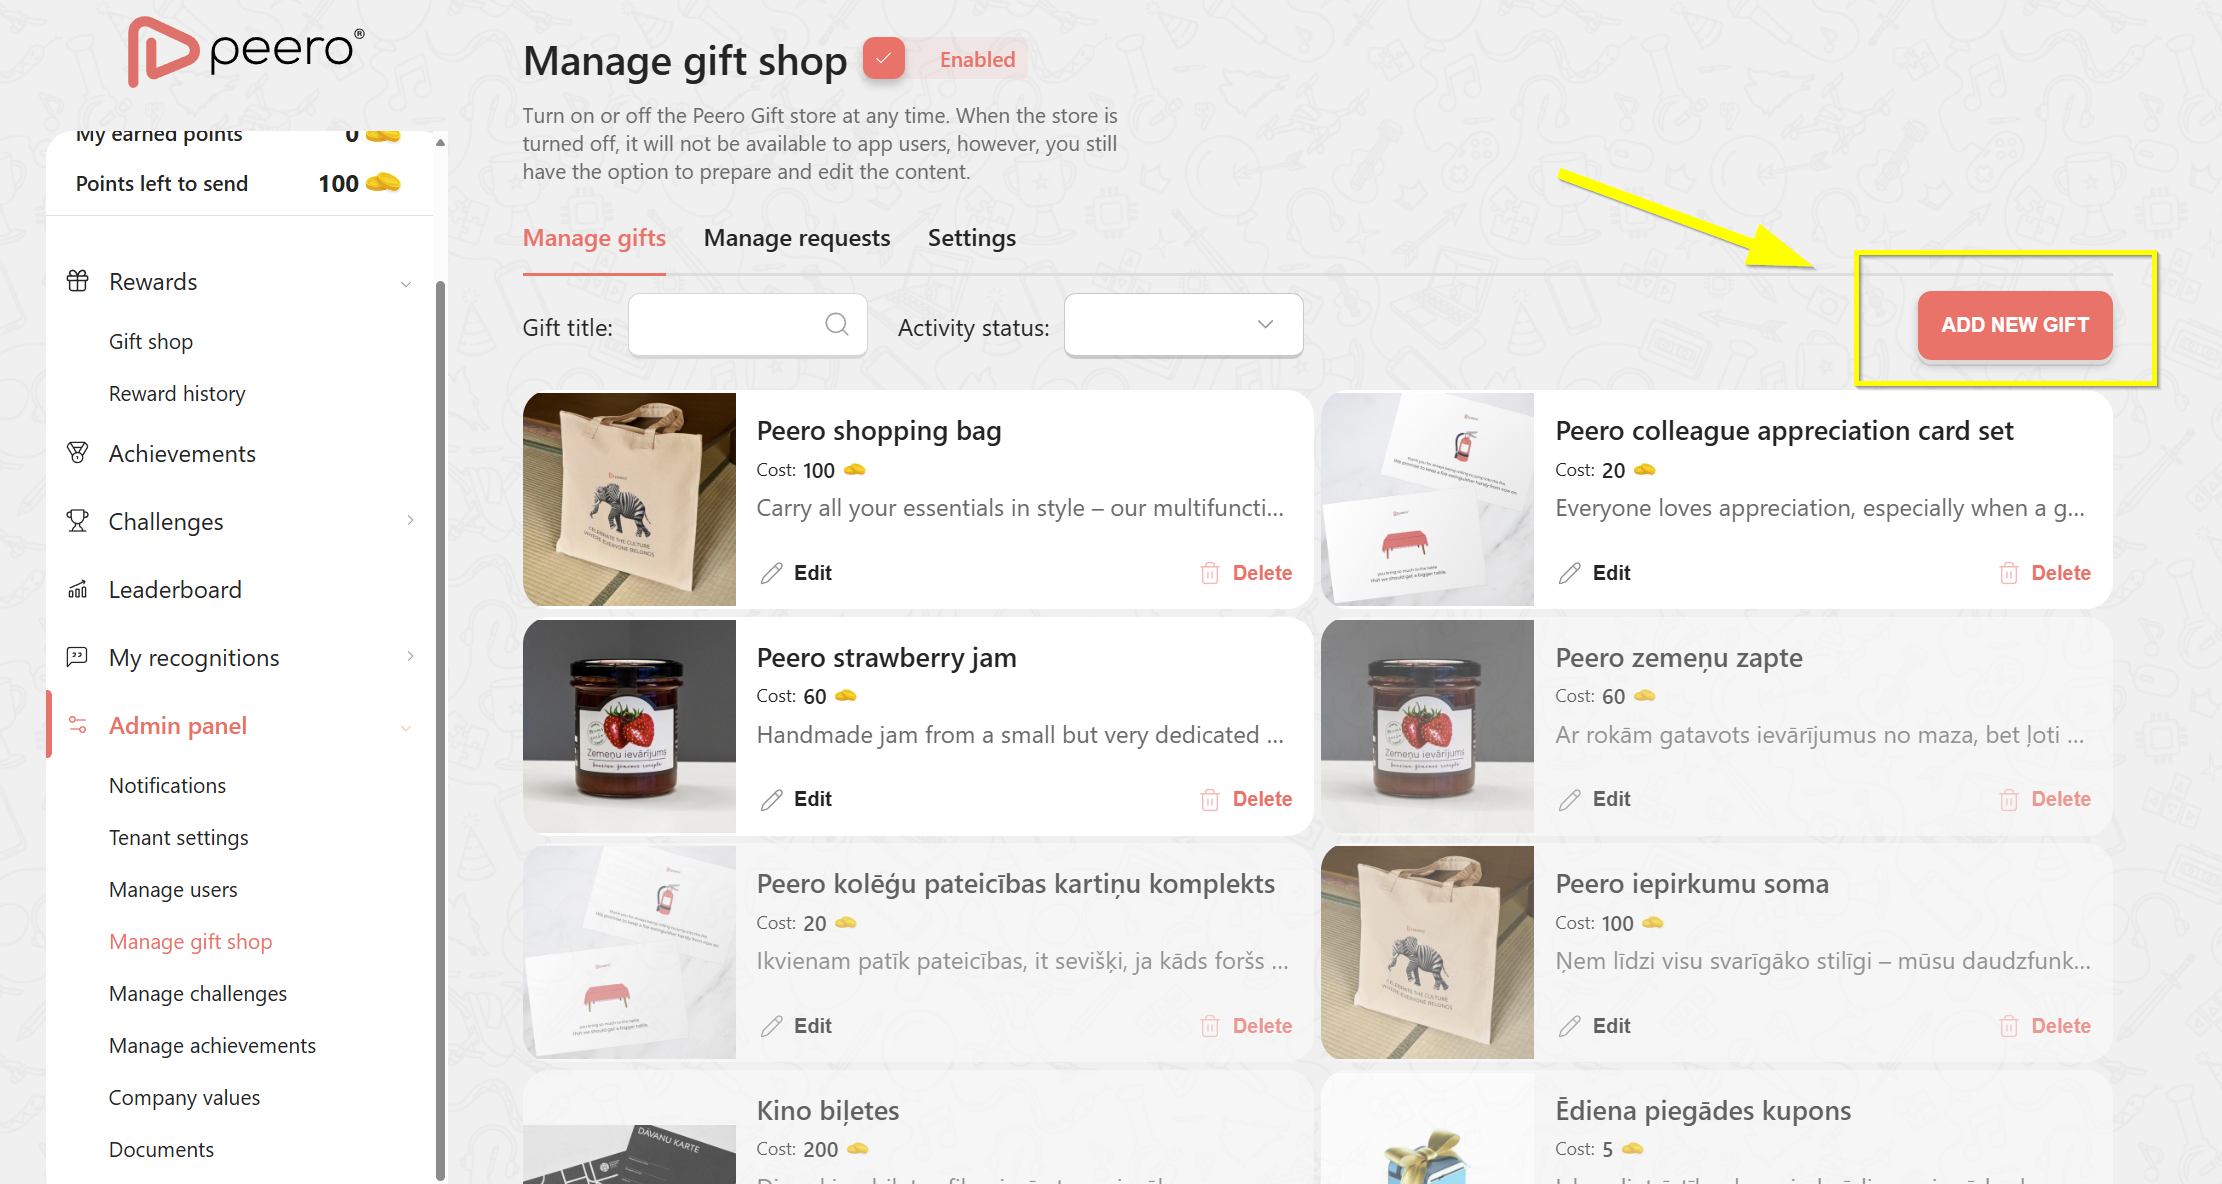
Click on “Add a new gift” to manage the new reward.
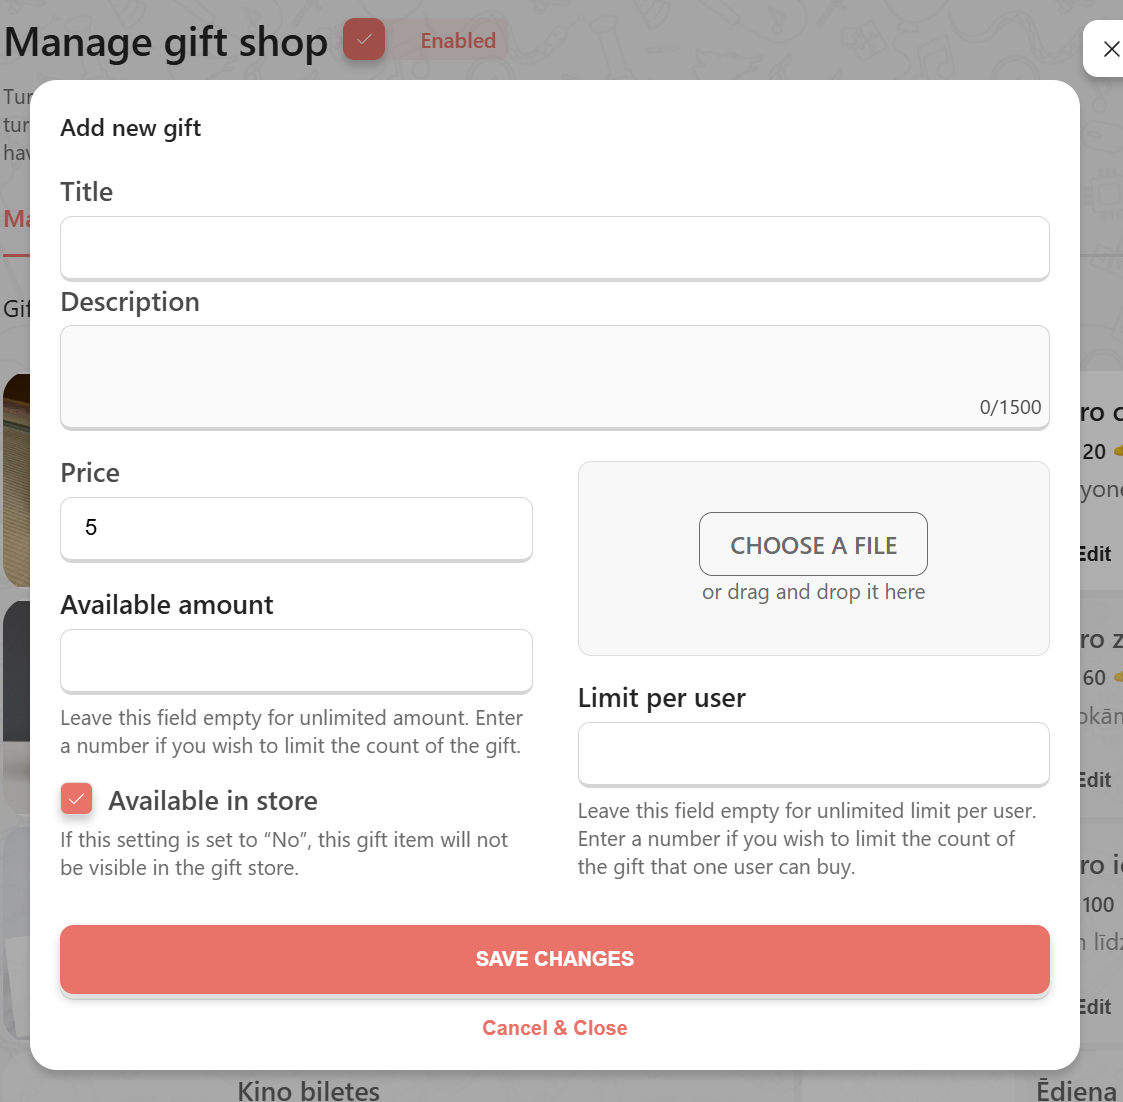
- Add the title of the gift.
- Add description and image.
- Price in Peero currency.
- If the gift is available choose “Available in store. If you plan to add this gift later uncheck this section, and it won't appear in the employee gift store until you put a check in this section;
- Available amount- specify how many items are available in total, leave the field empty for unlimited amount.
- Set the limit for one user if it is necessary.
Enable the gift store when you are ready, after it will be done everyone will see the Gift Store button and available (active) gifts in their Peero app.
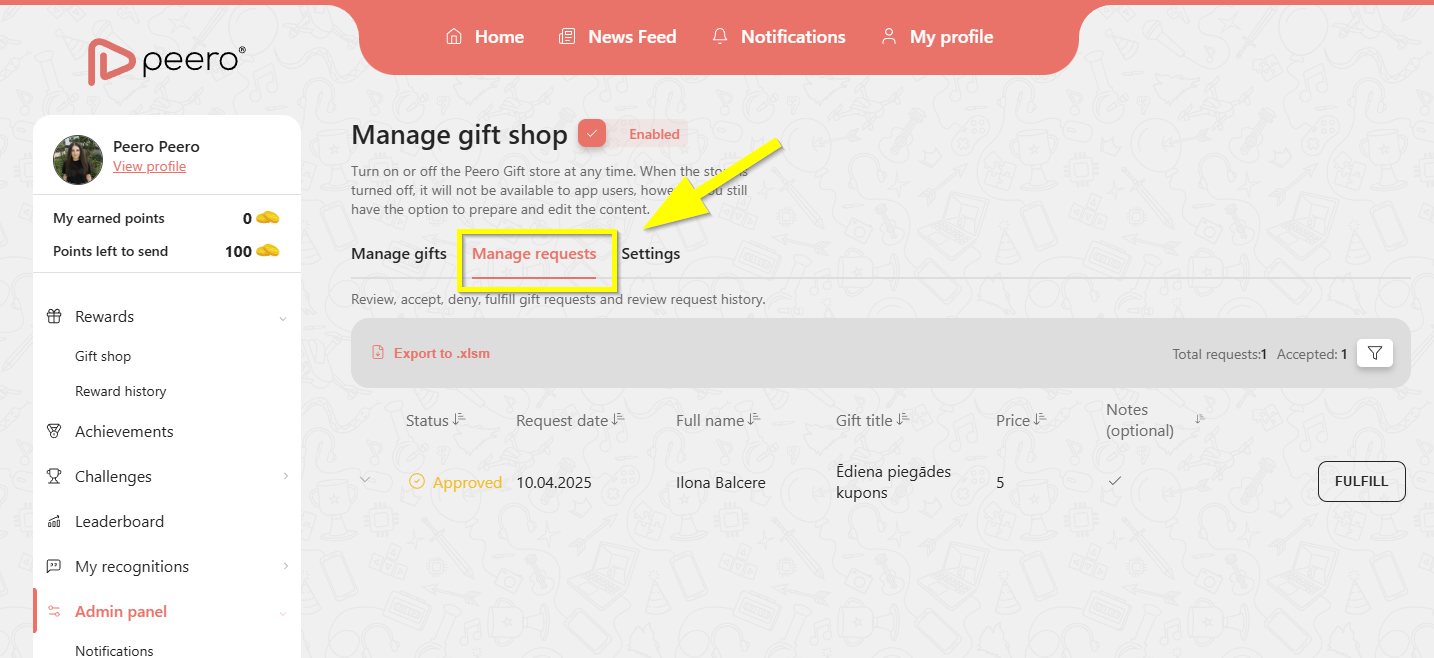
Manage requests
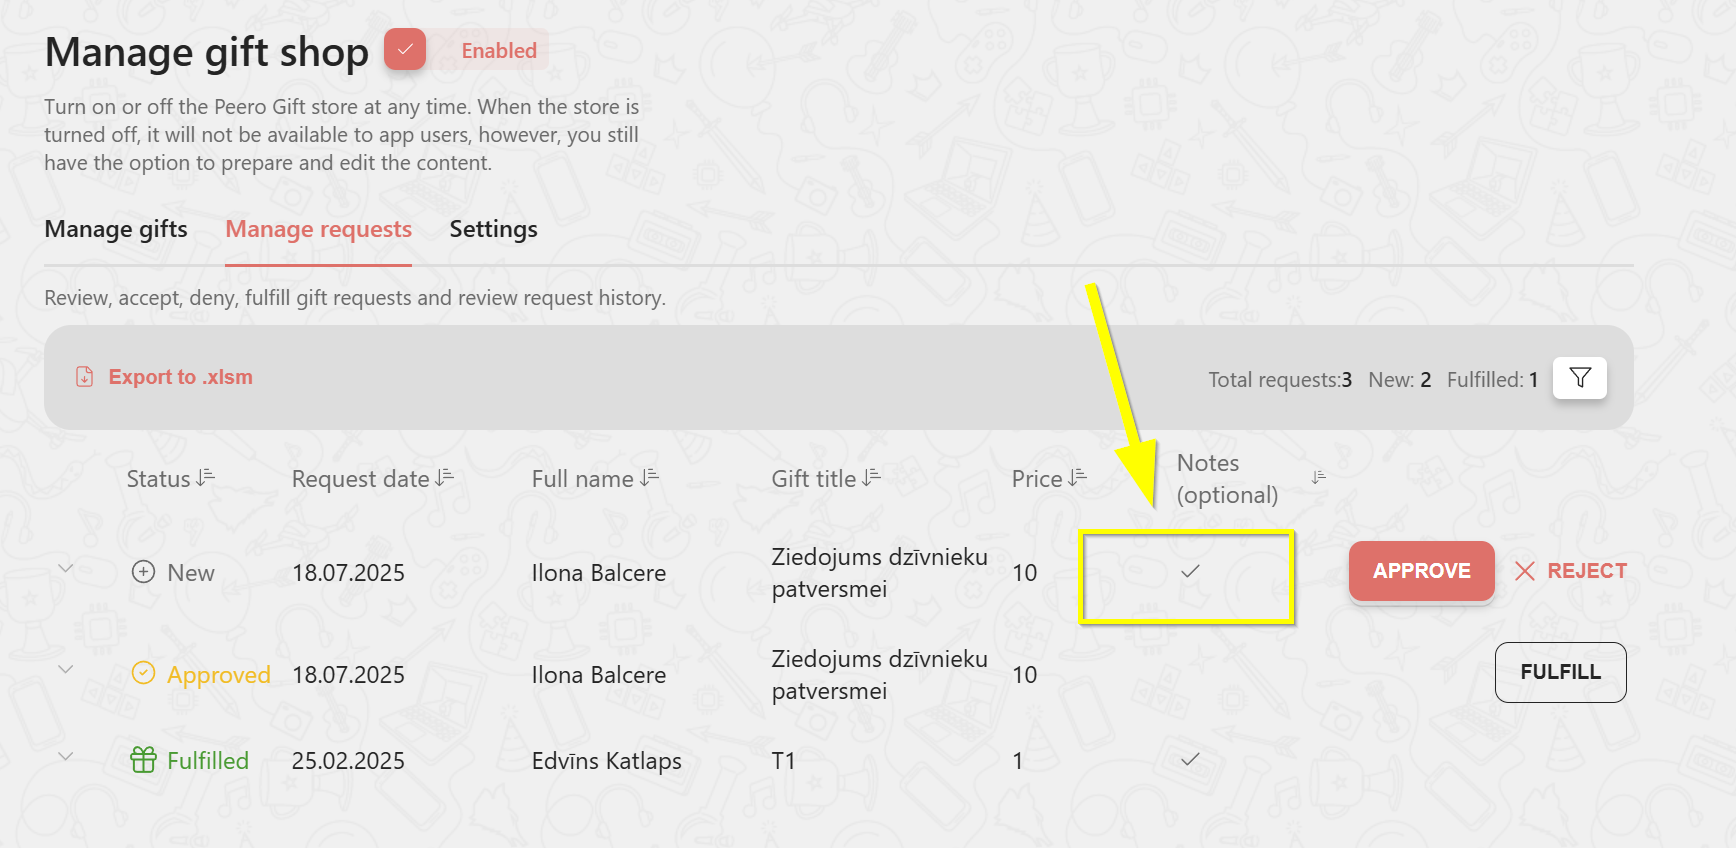
Open manage requests to review, accept, deny, fulfill gift requests, and review request history.
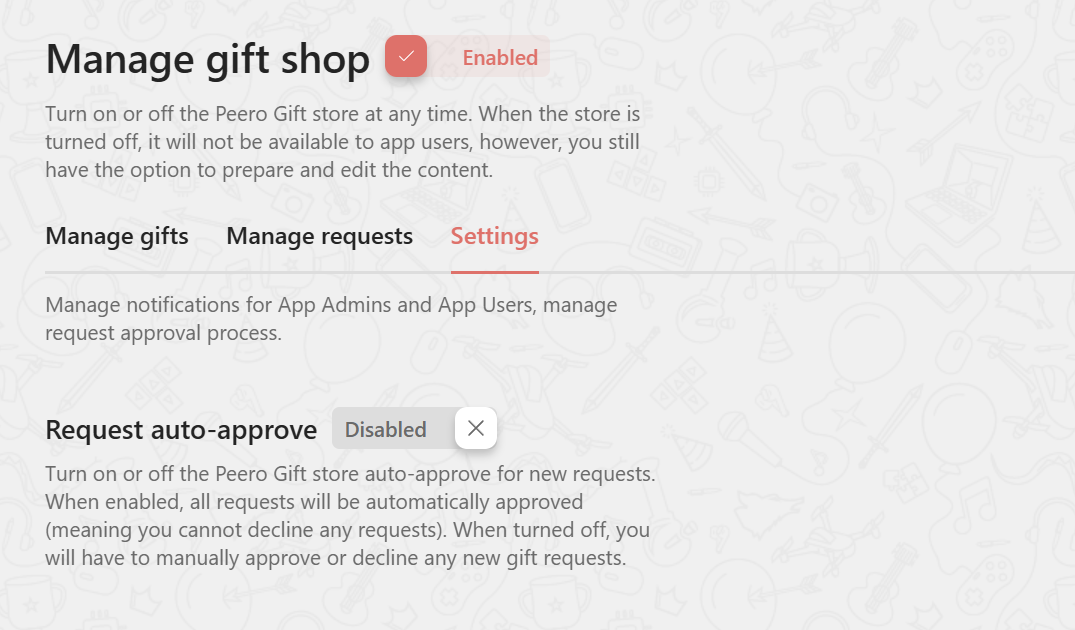
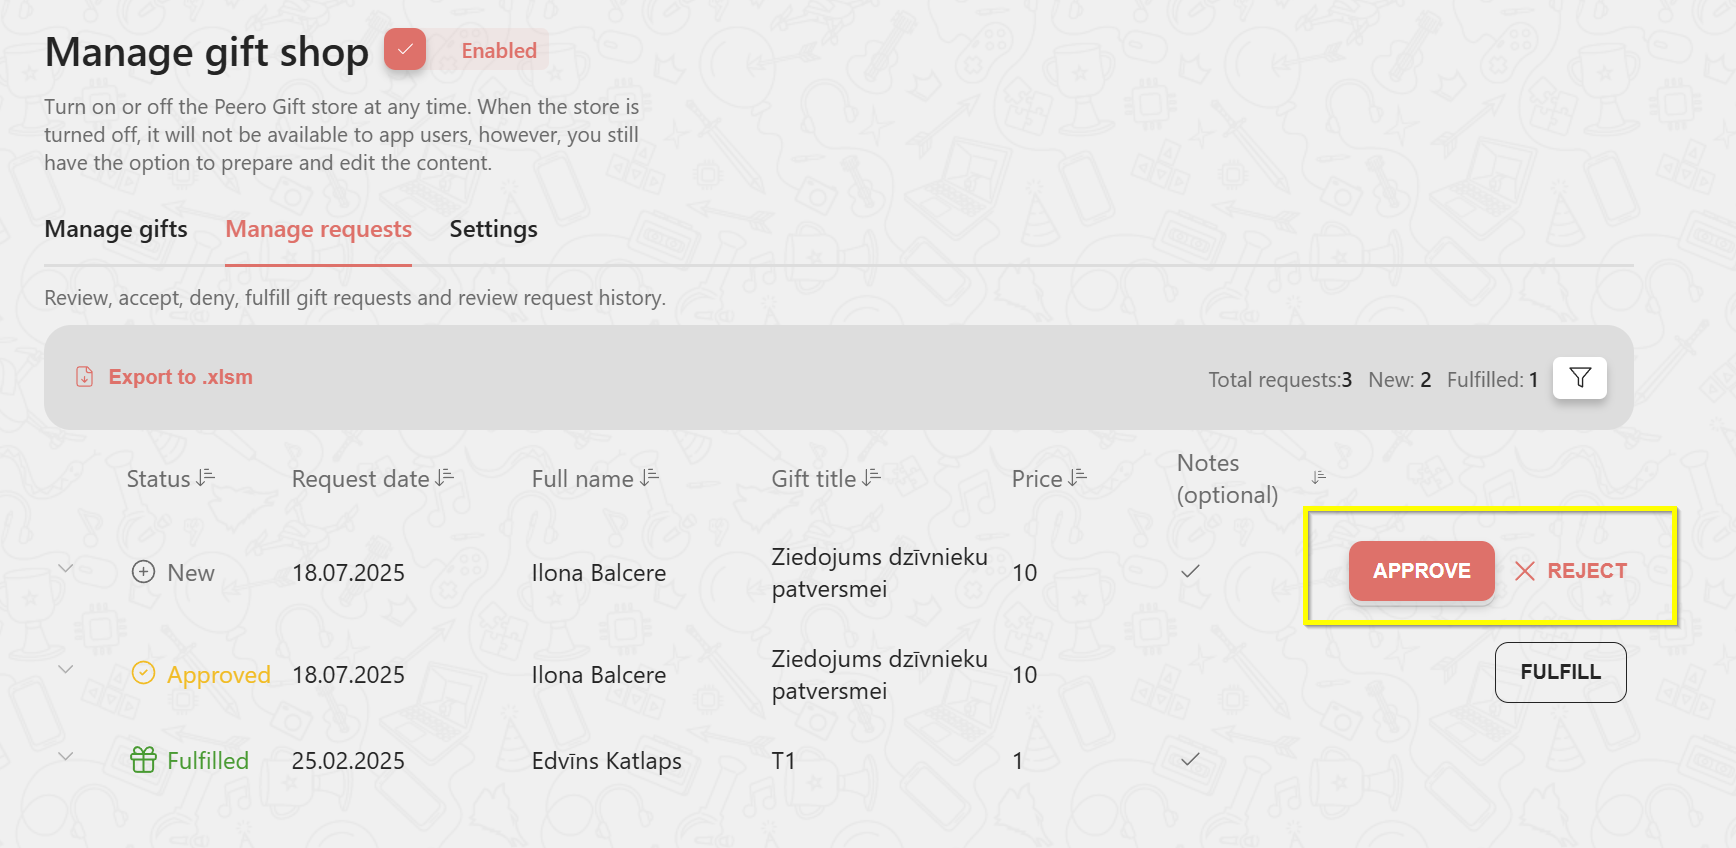
When a new request will be received you will have two options- approve the request or decline it because for some kind of reason fulfilling the request is not possible. Also, you can always choose auto-approve option in settings as well.
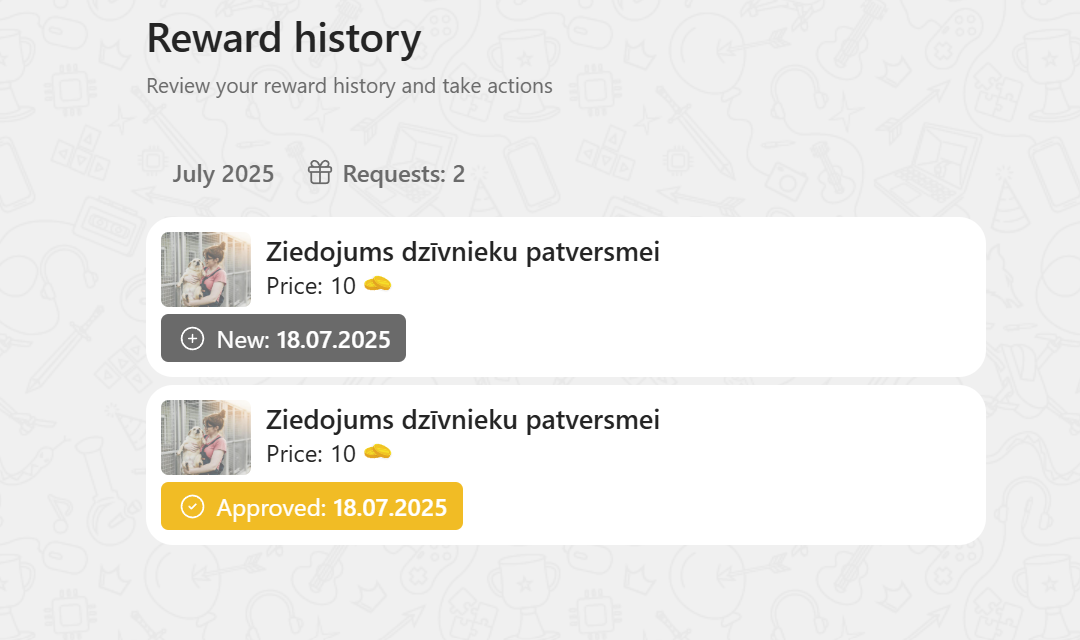
❗️Take into notice that while the employee is waiting for approval, there is always the possibility to cancel the request.
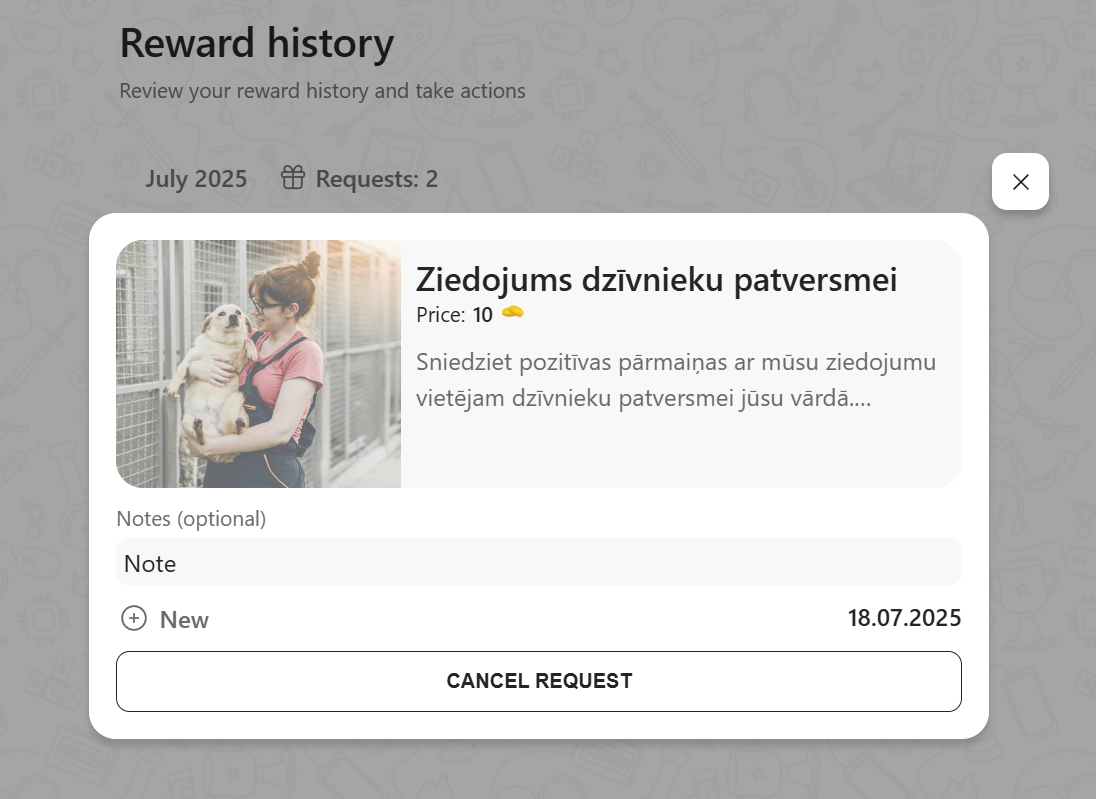
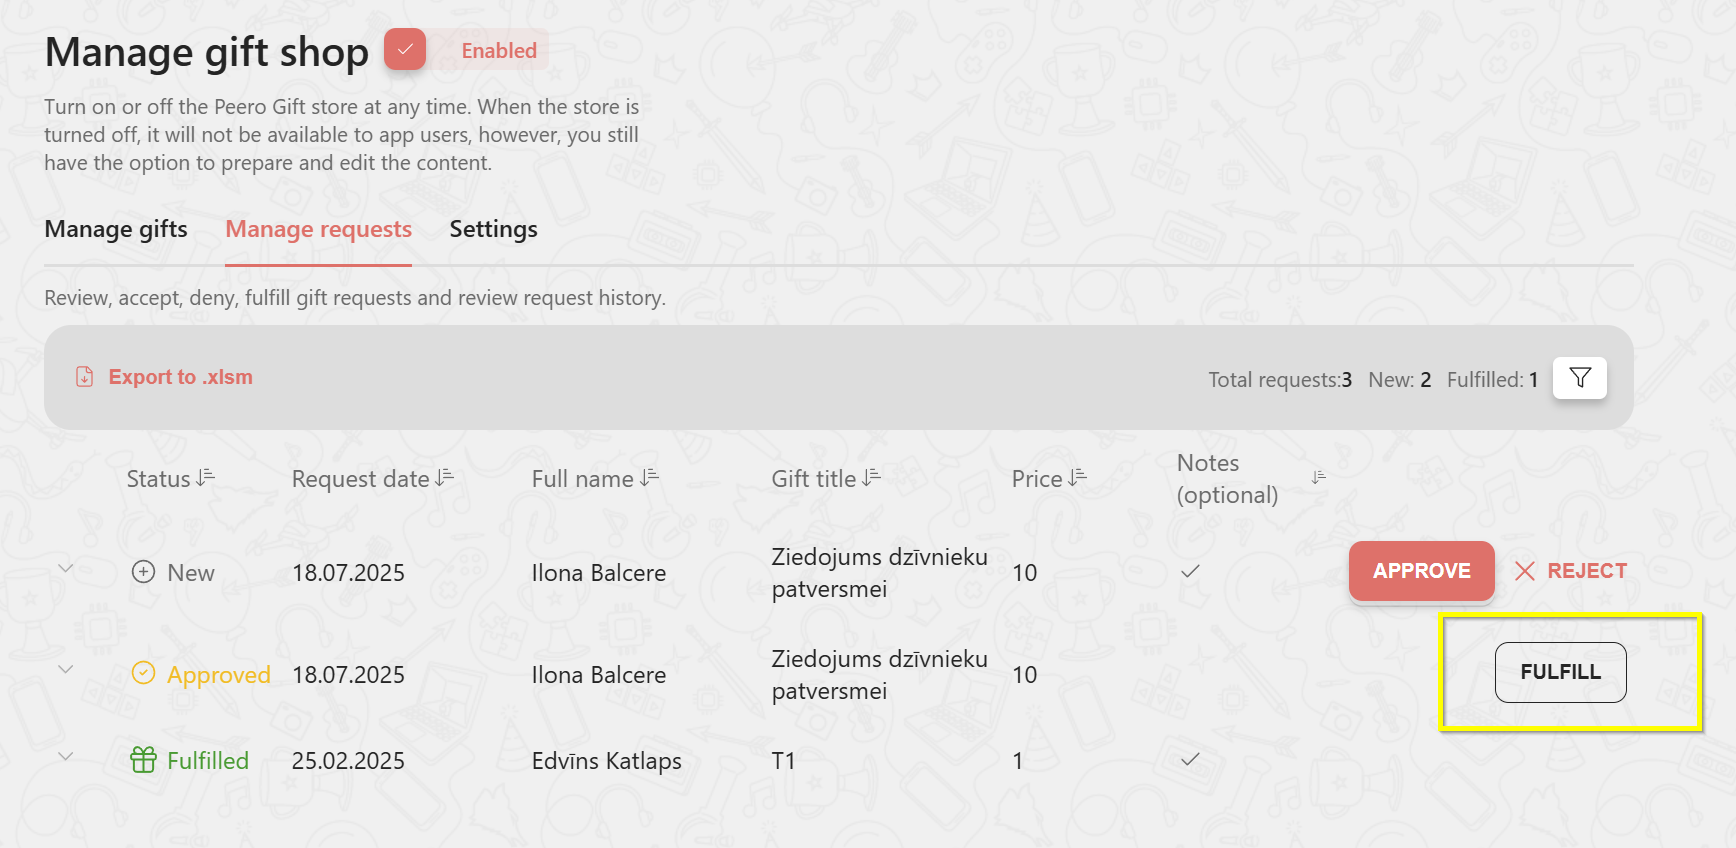
After the request will be approved, there will appear a “Fulfill” button.
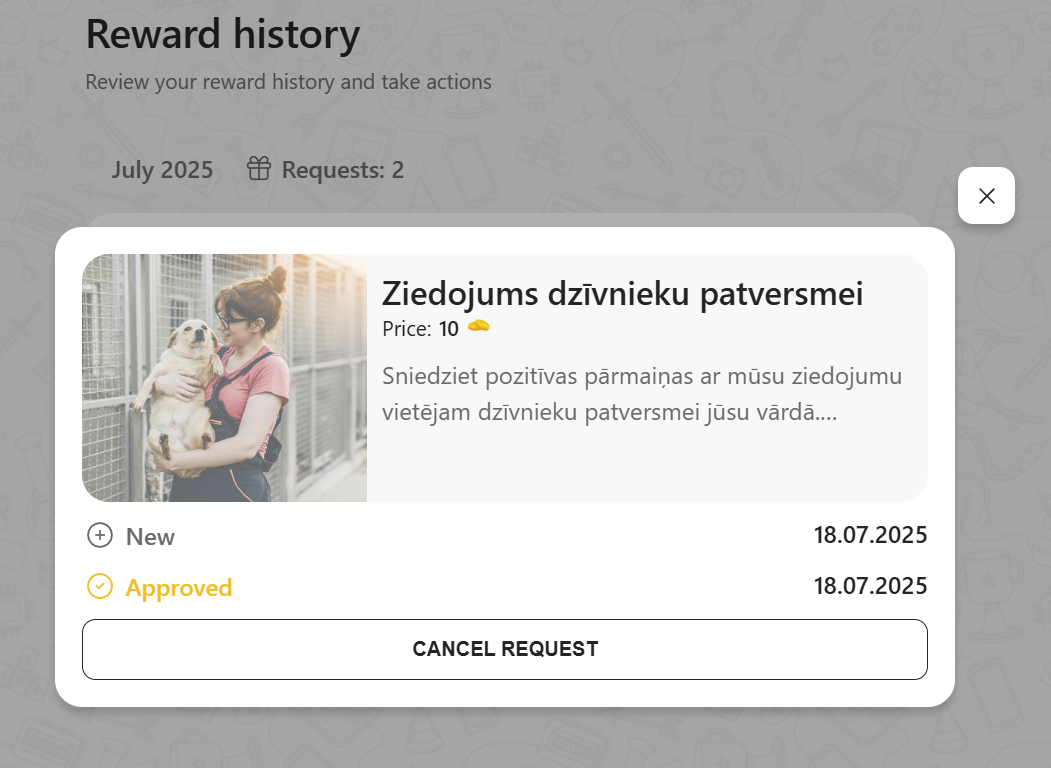
Employees will see that the gift request is approved but still will have the possibility to change mind and cancel the request.
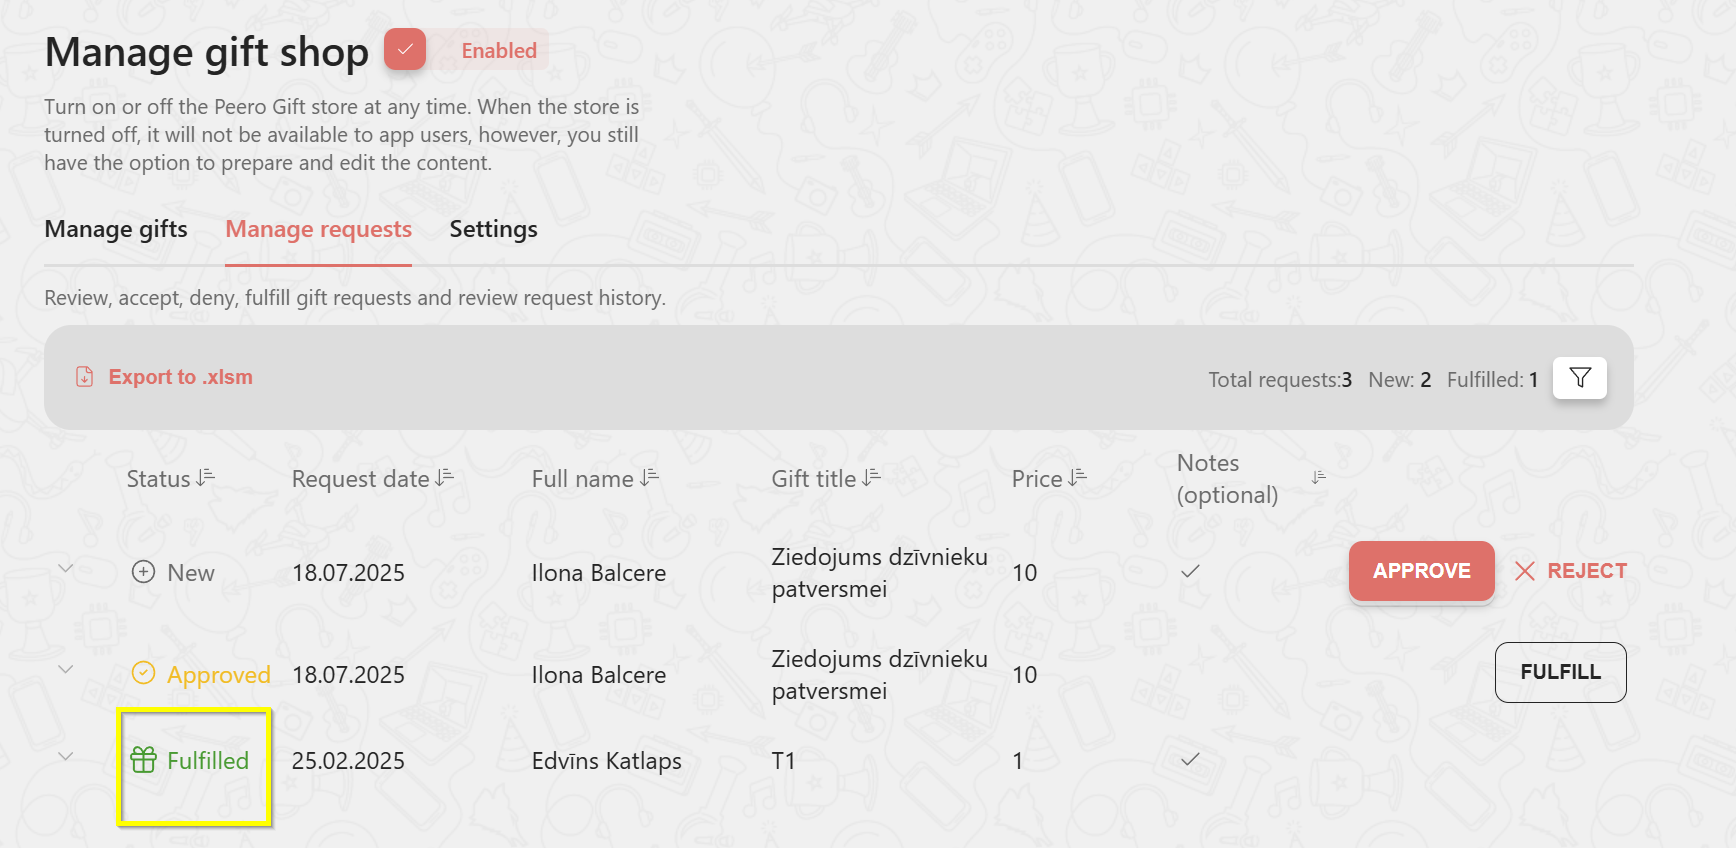
Click on “Fulfil” at the moment when the employee has received a gift and the gift request status will be updated for you and employee.
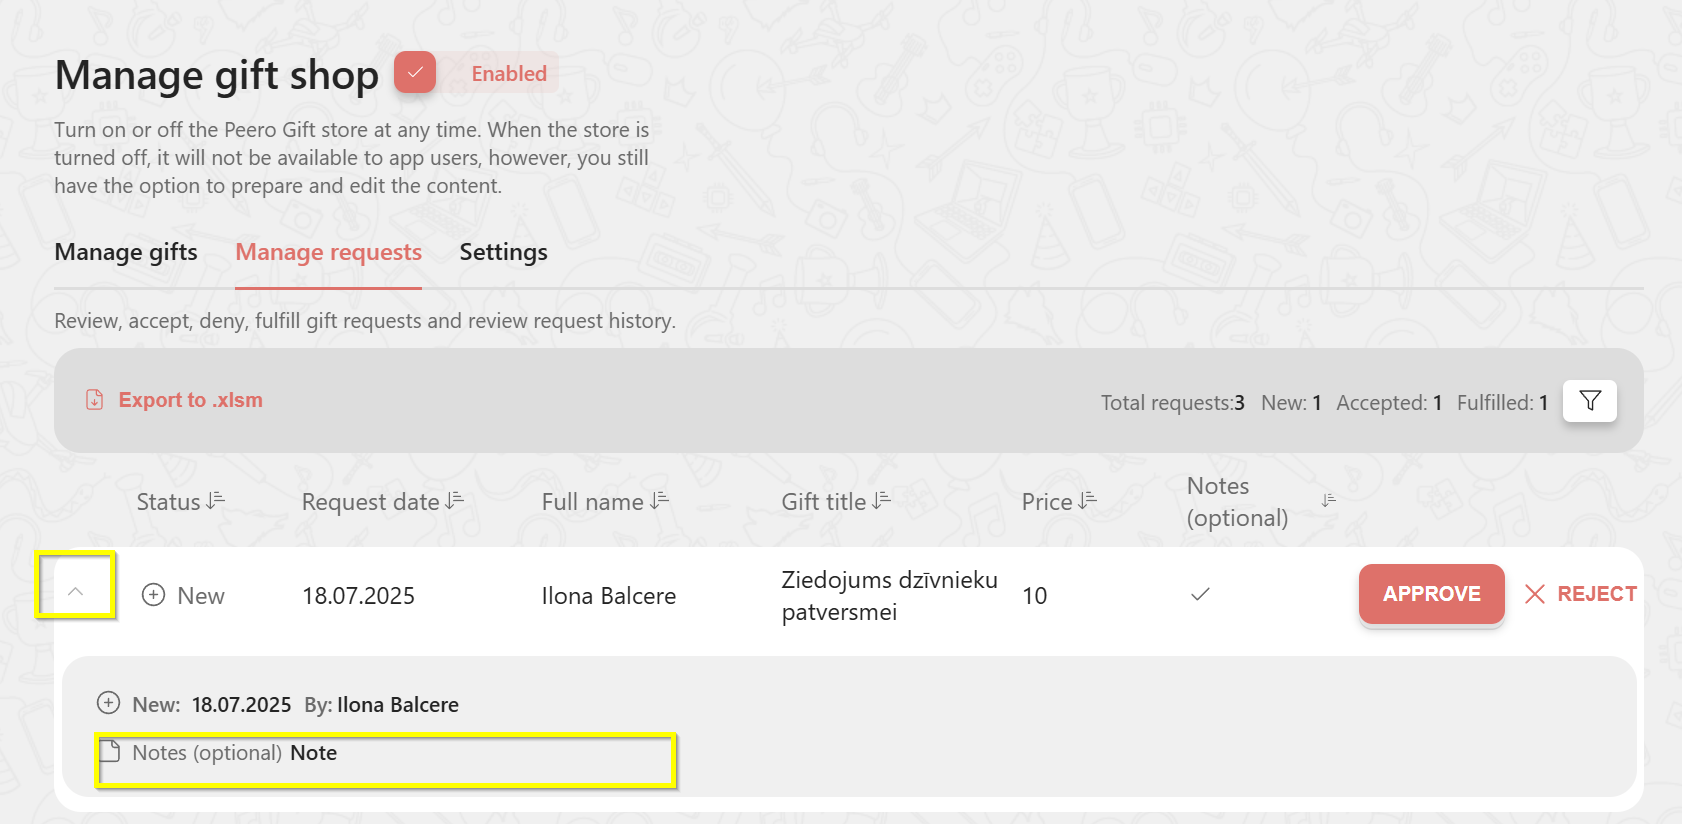
Pay attention to whether the employee has added a note when sending a gift request.
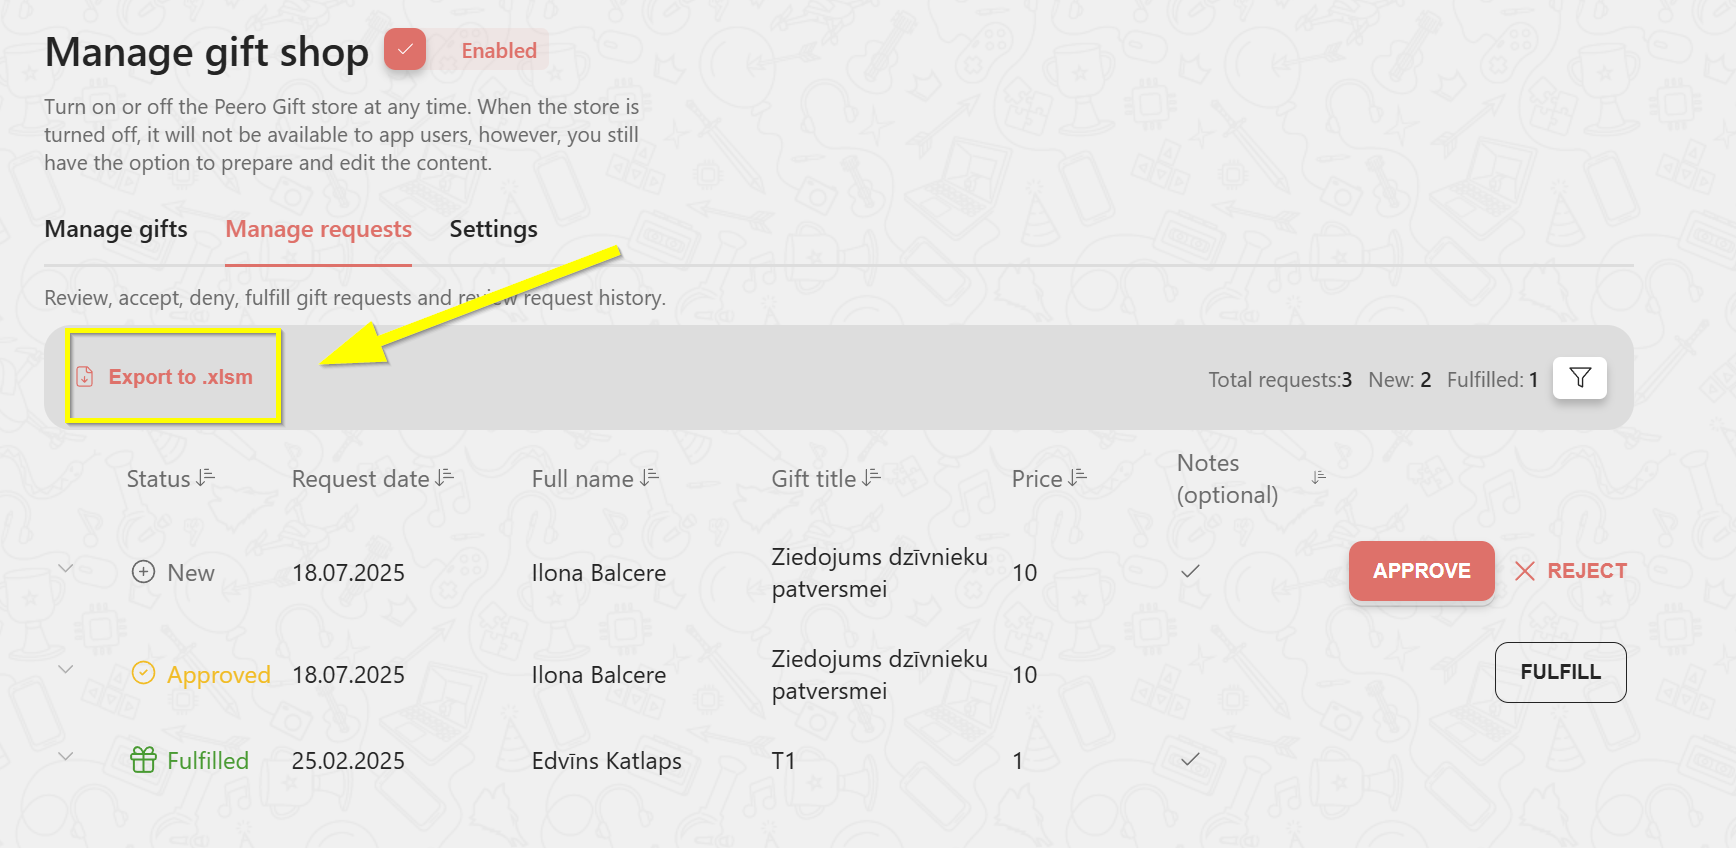
❗️For your convenience, we have prepared an option to export a .xlsm file, which may be useful for reporting and/or accounting purposes.
Settings
Manage the requests approval process.